
Sinclair Patterns “Danielle” and George + Ginger “Sincerely Sawyer”
Shaina O'Dell on Jun 13th 2019
I would like to share two tops that I made using Phee Fabric’s rayon spandex, and how I modified each pattern. I normally despise rayon spandex because a lot of it is hard to work with, but this was heavier weight and a pleasure to sew. It didn’t shift around while I was tracing my pattern or stretch out excessively while serging. This was such a relief!!!
The first pattern is the Sinclair Patterns Danielle top. It was love at first sight. It only has a long sleeved option, so I had to figure out how to make it short sleeved. Thankfully, it was much easier than I anticipated! Once the pattern is assembled, it has two notches that are very helpful; one in the shoulder area and another under the arm. All I did was draw a line through the underarm notch (to help the band attach easier) and a line that point and the other notch.
Cut the fabric and assemble the pattern per the instructions and add bands to the arms instead of the cuffs.

To get the band dimensions, measure the arm opening in between the seam allowances on both front and back pieces, and your width will be 80-85% of that, plus seam allowance. The height is up to you. I wanted my band to be an inch, so I made it 2.5 inches high.

I really love the back detail on this pattern! I thought it would be intimidating, but the instructions are thorough, making it fairly simple. It went together very smoothly. I will use this pattern again!


Next is the George + Ginger Sincerely Sawyer Sweater. The pattern is free with a code in their facebook group! I was going to make it strictly by the pattern, but I would probably feel like something is crawling on me if I put a bow on the shoulder. I’m way too jumpy for that! I still wanted to use this pattern, but I also didn’t want it to be a plain shirt, so I decided to use the sleeve cutouts to make it a cold shoulder top. I changed the construction of the sleeves, using a facing instead of a band so the hole would be bigger, and I did the neckband a little differently.
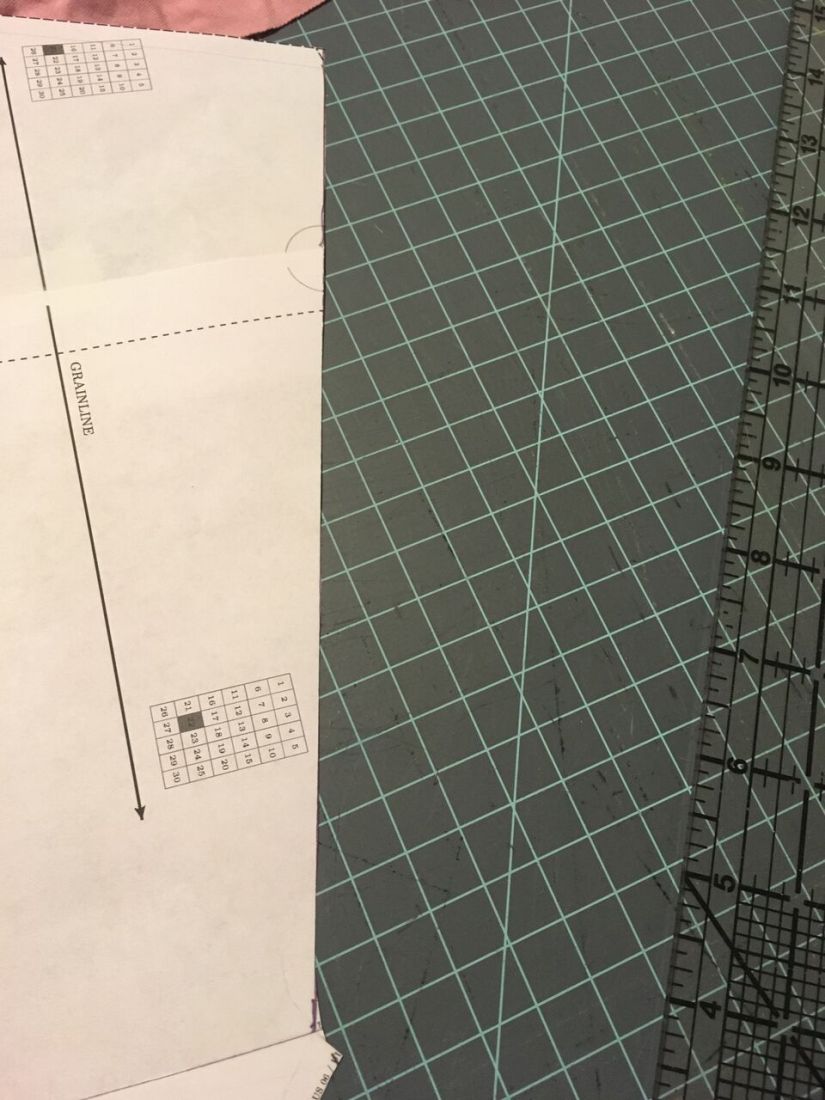
To get the front and back pattern pieces, tape the pattern together, cut it out, and fold the whole piece in half, matching the side seams. These will be your pattern pieces that are to be cut on the fold.

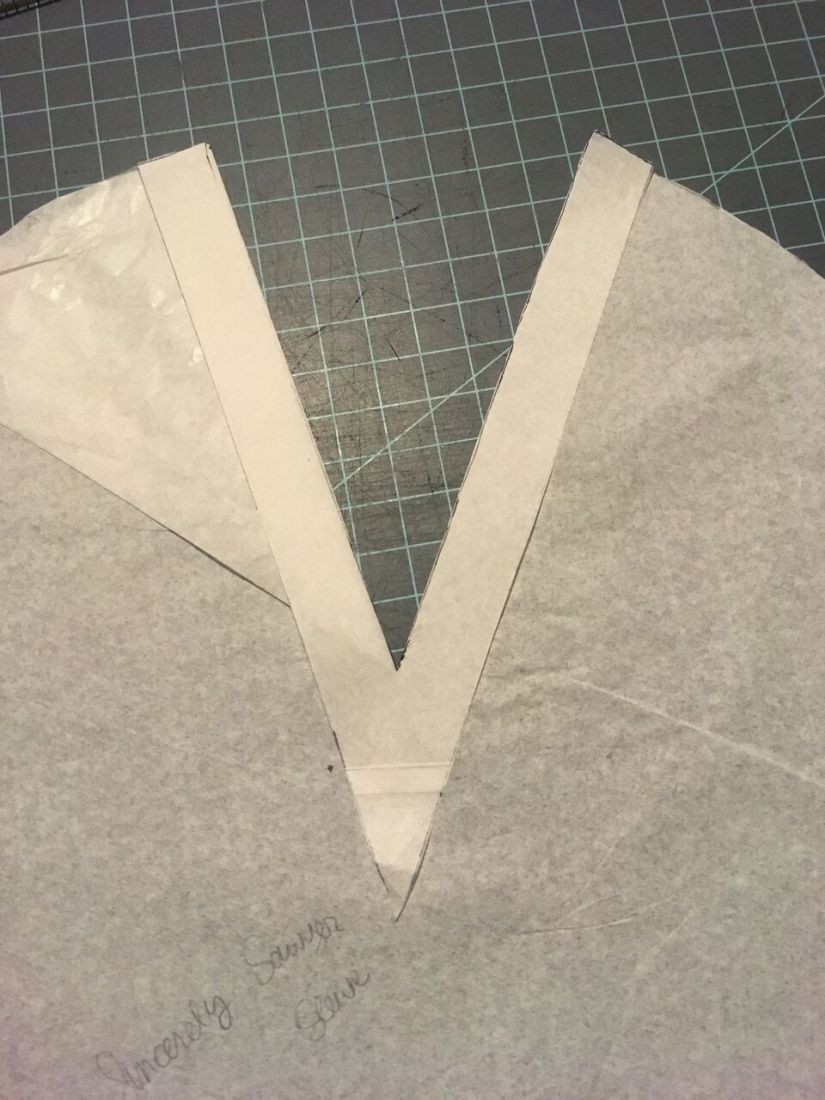
For the sleeves, use the sleeve piece with the cutout. On another piece of paper, trace the V and an inch or so of the sleeve cap of each side. Using a clear ruler, trace 3/4-1 inch outside of the V, all the way down until the lines meet. This will be your facing piece.
To sew the facing onto the sleeve, match the Vs right sides together and sew using 1/4 inch seam allowance. Clip the corner almost to the seam allowance, making sure not to clip through the stitching.

Flip the facing to the wrong side and press. Stitch about 1/4 inch from the edge. Cut the extra fabric at the point off, if desired.

Sew the front and back bodices together at the shoulder seams. To add the sleeves, pin them to the bodice. There will be an area of the armscye that doesn’t have any sleeve attached to it. Serge the whole thing, even the part without any sleeve. Press the seam toward the bodice. Topstitch using a stretch stitch. This will hide the serged edge on the opening. Sew the sleeves and side seams closed and add the neckband, sleeve cuffs, and bottom band. My neckband was hanging open (I always have this problem with wide neckbands) so I easily fixed that by pressing it down just over the neck seam and topstitched.
I love the way this top turned out! Most cold shoulder tops have rounded openings and the pointed ones on this one are unique. There is plenty of ease for a nice slouchy look.


