
My bikini making - Jalie Gigi
Jenn Williams on Jun 13th 2019
My Bikini Making – The Jalie Gigi Bikini
Quick disclaimer – I am in no way affiliated with Jalie and I bought the pattern myself because I loved the look of it.
Overall my bikini came together really well but it wasn’t without struggles. I felt like the instructions/pictures were lacking desperately and I would call this an intermediate sew. However, with better instructions and pictures, it could definitely be completed by a confident beginner.So I’m going to try to help out with this post because it really is a great bikini with wonderful support for the twins!
The first thing I do when I begin a swim pattern is make sure I have a new rotary blade.You can use scissors and pins but swim fabric and lining is slippery, so a rotary cutter and mat is almost a must!
Look at the difference between an old blade versus a new blade!


While you are cutting out your pieces, be sure to mark or cut all the notches shown on the pattern pieces. This is really critical for swimwear as a lot of the pieces stretch to fit each other so having notches to line up is really helpful.
You also want to make sure you have swim elastic.Swim elastic is made to withstand chlorine and saltwater.If you opt to not use swim elastic, your finished suit may not hold up through multiple seasons!
This bikini in particular has a princess seam in the front. Which means the two front pieces are going to need to be eased into each other. Easing in pieces doesn’t mean stretching, but manipulating the pieces to match. Use lots of pins or clips!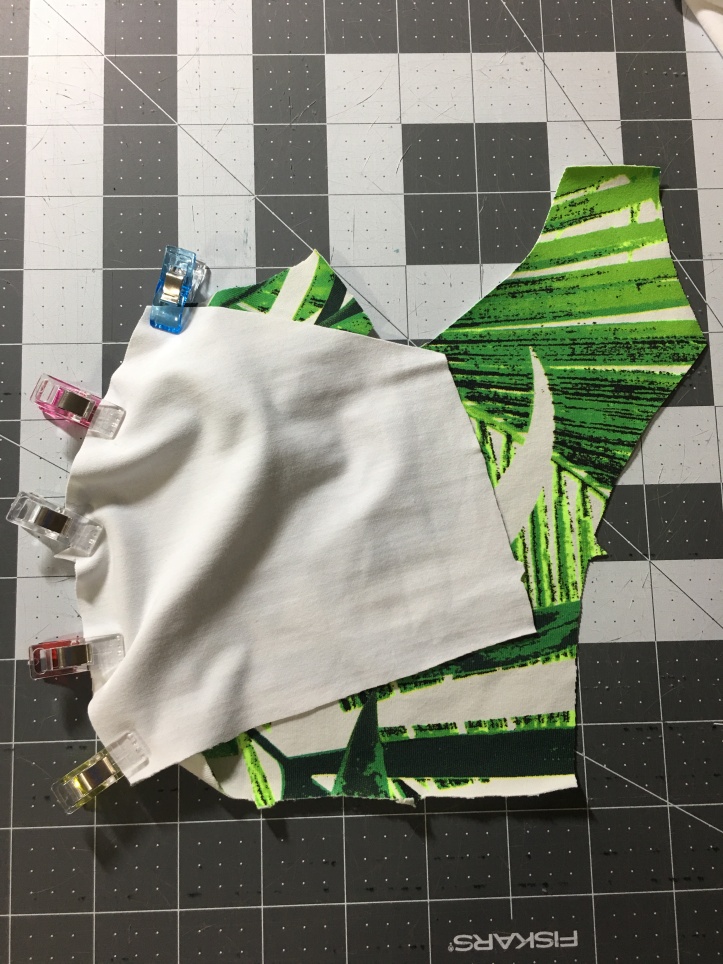
For my bikini top, I wanted to add techsheen, which is a really supportive, stronger version of a powernet.You can use it in between your lining fabric and main fabric for extra boobie support. I felt like this pattern did not do a great job of explaining how to assemble all of the top layers so here is what I did.I am starting with three top, front pieces as pictured below. Main, techsheen, and lining.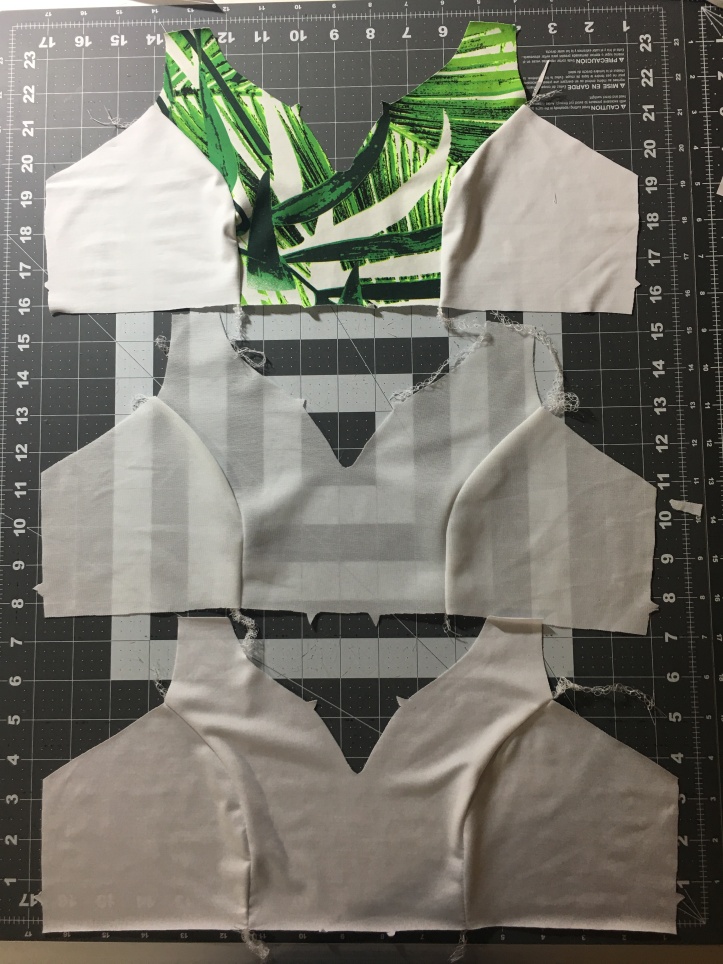
First, I attached my foam cups to my techsheen. I used an old bikini that I don’t wear anymore and took the cups from it.But you can find them at Joann’s or online.Just make sure they are made for swimwear so they will hold up!I attached them to the wrong side of my techsheen and used lots of pins to hold them in place. You want to kind of mash the cup down to get it to lay flat so you can pin it evenly.


You then want to topstitch with a zig zag or stretch stitch all the way around the cups.


The next thing I did was baste my lining to the techsheen, all the way around, wrong sides together. This piece will now be treated as one.
So here I have pictured my basted together lining and tech sheen (above) that will be treated as one piece (I will refer to it as lining from here on out) and my main fabric (below).
The next step is serging the arms and neckline and then attaching elastic to the arms and neck.I go through this in detail in this video.
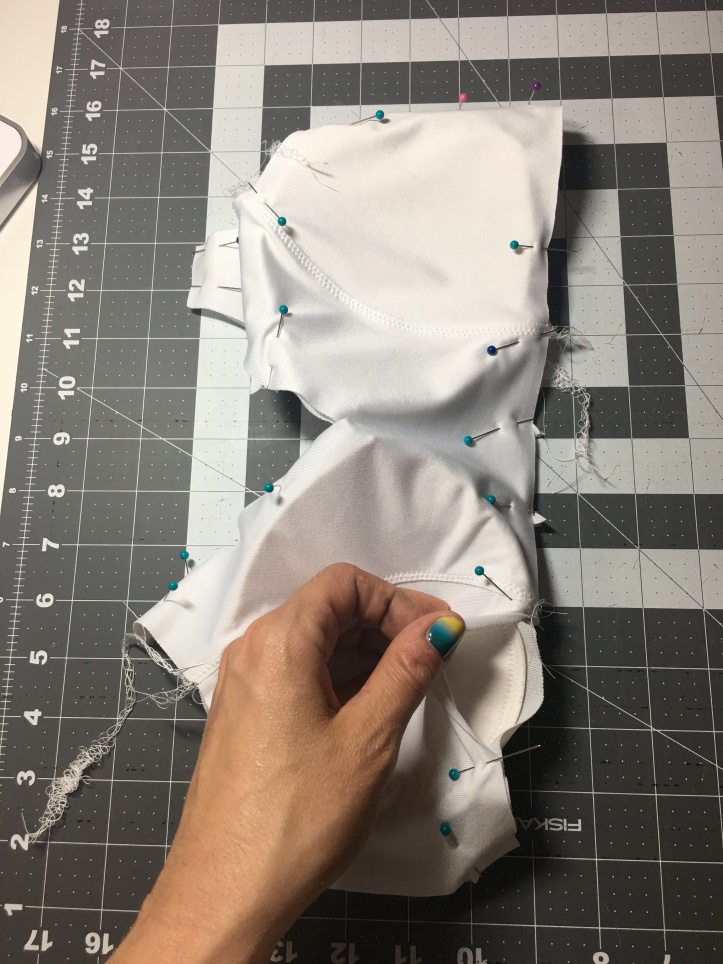
You will serge the lining to the main fabric, right sides together and then attach the elastic. For the top, I used my sewing machine to attach the elastic because of the nature of the curves and v-neck.I find that I have the most control with my sewing machine instead of my serger.


After the elastic is attached, you understitch. This may be new to some of you so let me explain. Understitching tacks the seam allowance to the lining so that the lining doesn’t play peek-a-boo while you are wearing the suit. This is also explained in my video.
You separate the main fabric and pull it out of the way. You then topstitch with a stretch or zigzag on the lining side catching your elastic and seam allowance underneath. You don’t want any stitching on the main fabric. In the photo below, you can see the seam allowance through the lining and my main fabric is out of the way.

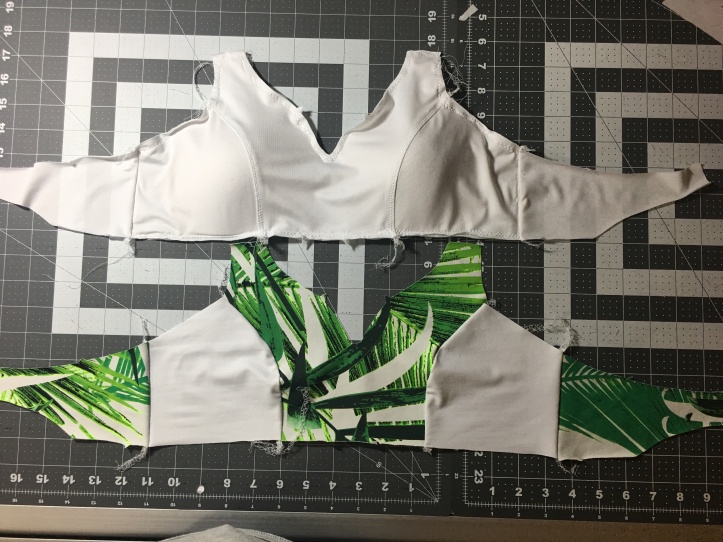
Once the elastic is attached to the arms and neck, you are ready to add your straps. I’m not going to go over construction of the straps because they are pretty easy.
The rest of the suit came together smoothly for me. The afore mentioned steps were where I struggled the most.
One nice thing about this suit is the straps are all plenty long enough to adjust per your preference. I tried it on several times with the straps basted in place so that I could see how I wanted it to fit.
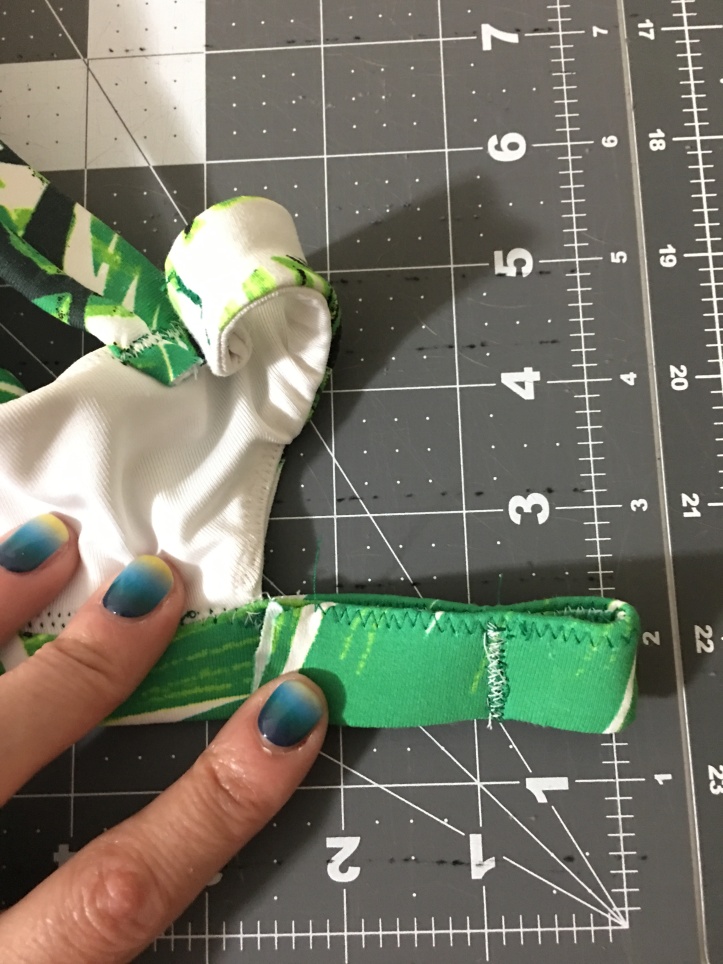
For the finishing the back, in order to attach the swim clasp, you have to fold over the edges. Mine were folded over a lot. I also played with this several times before I really stitched it into place. So I was really able to achieve a perfect fit with where all the straps need to be.
Overall I’m really really happy with how my top came out.However, this pattern does not come in bust sizes so I had a hard time picking what size to make.I want to make another one and give myself some more room in the bust.I don’t want to size up because I like where the all the pieces sit, I just need more volume in the cups.
I am also not writing about the construction of the bottoms because I feel that they are pretty standard. Although I do discuss attaching elastic with a serger in this video. I chose to do the high rise waist band option and I really like the fit.
All of the fabric I used is from Phee Fabrics. I have never worked with such amazing swim fabric.It was easy to sew (for swim) and it feels so nice!


Main leaves fabric – http://pheefabrics.com/leaf-matte-nylon-spandex/
White accent fabric – http://pheefabrics.com/white-circular-knit/
White Techsheen – http://pheefabrics.com/white-techsheen/
White Lining – http://pheefabrics.com/white-lining/